Debugging OCaml with Emacs
March 25, 2024This post started as a summary of my March Hacking Days effort at Tarides.
I have been working on improving the debugging situation for OCaml and wanted to see how easily I could setup debug support in Emacs using DAP. Debug Adapter Protocol (DAP) is a wire protocol for communicating between an editor or IDE and a debug server like LLDB or GDB, providing an abstraction over debugging, similar to how Language Server Protocol (LSP) provides language support for editors.
OCaml comes with support for debugging native programs with GDB and LLDB, and bytecode code programs using ocamldebug and earlybird. In this post we will cover setting up and debugging both kinds of programs. I am using an M3 Mac so all examples will show ARM64 assembly and macOS specific paths. The same setup should work on Linux. I use prelude to configure my Emacs with my own customistations in .emacs/personal, adjust for your own personal Emacs setup.
Let’s start with the following program to compute Fibonacci sequence:
(* fib.ml *)
let rec fib n =
  if n = 0 then 0
  else if n = 1 then 1
  else fib (n-1) + fib (n-2)

let main () =
  let r = fib 20 in
  Printf.printf "fib(20) = %d" r

let _ = main ()
And this dune configuration in the same directory:
(executable
 (name fib)
 (modules fib)
 (modes exe byte))
And this dune-project configuration in the same directory:
(lang dune 3.11)
(map_workspace_root false)
Create an empty opam switch in same directory and install dune:
$ opam switch create . 5.1.1 --no-install
$ opam install dune
This gives us everything we need to try out all the different debuggers.
Emacs configuration
Emacs has dap-mode that provides everything we need for DAP integration. Install it using M-x package-install and choose the dap-mode package. I have the following lines in my .emacs/personal/init.el that will require the packages we need and setup some convenient key bindings:
; Require dap-mode plus the two extra files we need
(require 'dap-mode)
(require 'dap-codelldb)
(require 'dap-ocaml)

; Setup key bindings using use-package.
(use-package dap-mode
  :bind (("C-c M-n" . dap-next)
         ("C-c M-s" . dap-step-in)
         ("C-c M-a" . dap-step-out)
         ("C-c M-w" . dap-continue)))
Save and restart Emacs, then we can move onto setting up bytecode debugging.
Bytecode debugging
The earlybird project provides DAP support for debugging OCaml bytecode. OCaml has a bytecode compiler that produces portable bytecode executables which can be run with ocamlrun, the interpreter for OCaml bytecode. Earlybird uses the (undocumented) protocol of ocamldebug to communicate with a bytecode executable, inheriting the same functionality as ocamldebug.
Start by installing the earlybird package:
opam install earlybirdThen create a file in .vscode/launch.json with this configuration:
{
"version": "0.2.0",
"configurations": [
{
"name": "OCaml earlybird (experimental)",
"type": "ocaml.earlybird",
"request": "launch",
"program": "./_build/default/fib.bc",
"stopOnEntry": true,
"cwd": "${workspaceFolder}"
},
]
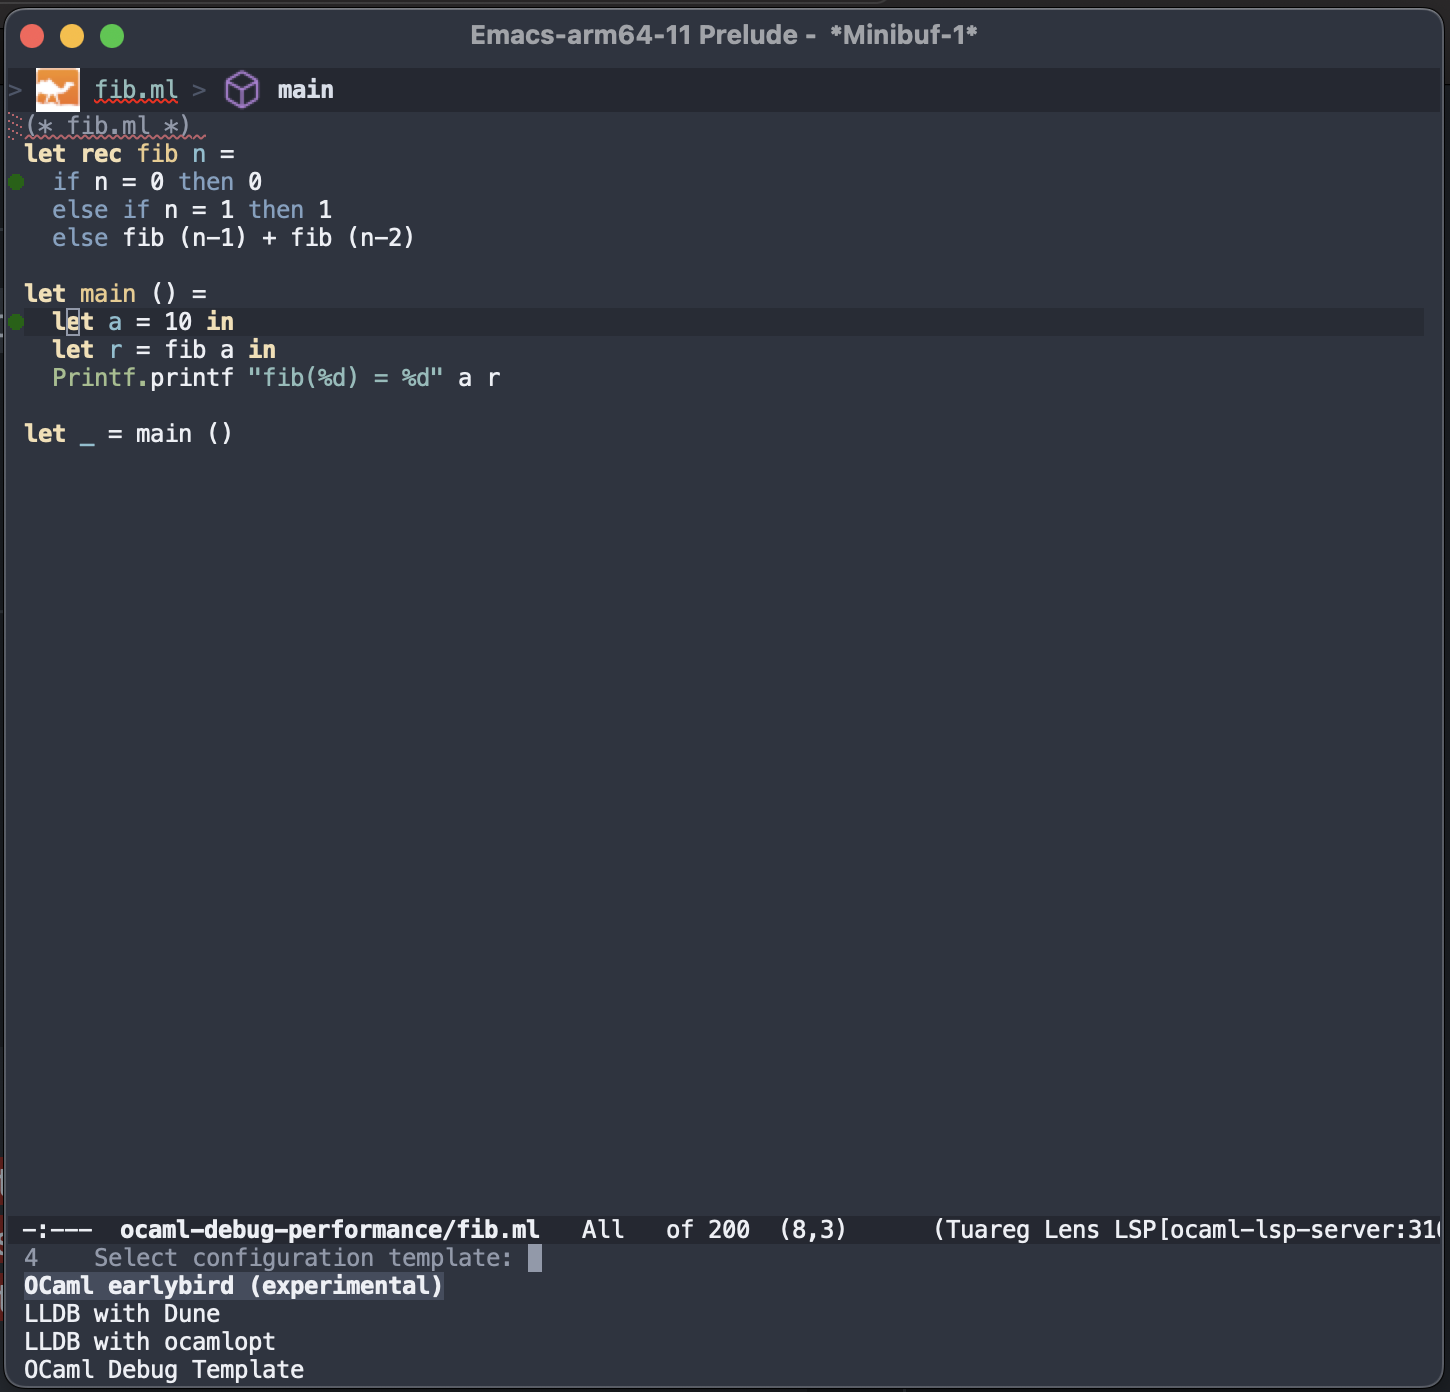
}Build the project with dune build to create the fib.bc bytecode file. Finally start a debugger by running M-x dap-debug. It will prompt you to choose a session, we want OCaml earlybird (experimental) from the named configuration above. It will start earlybird and immediately stop it before executing any OCaml code.
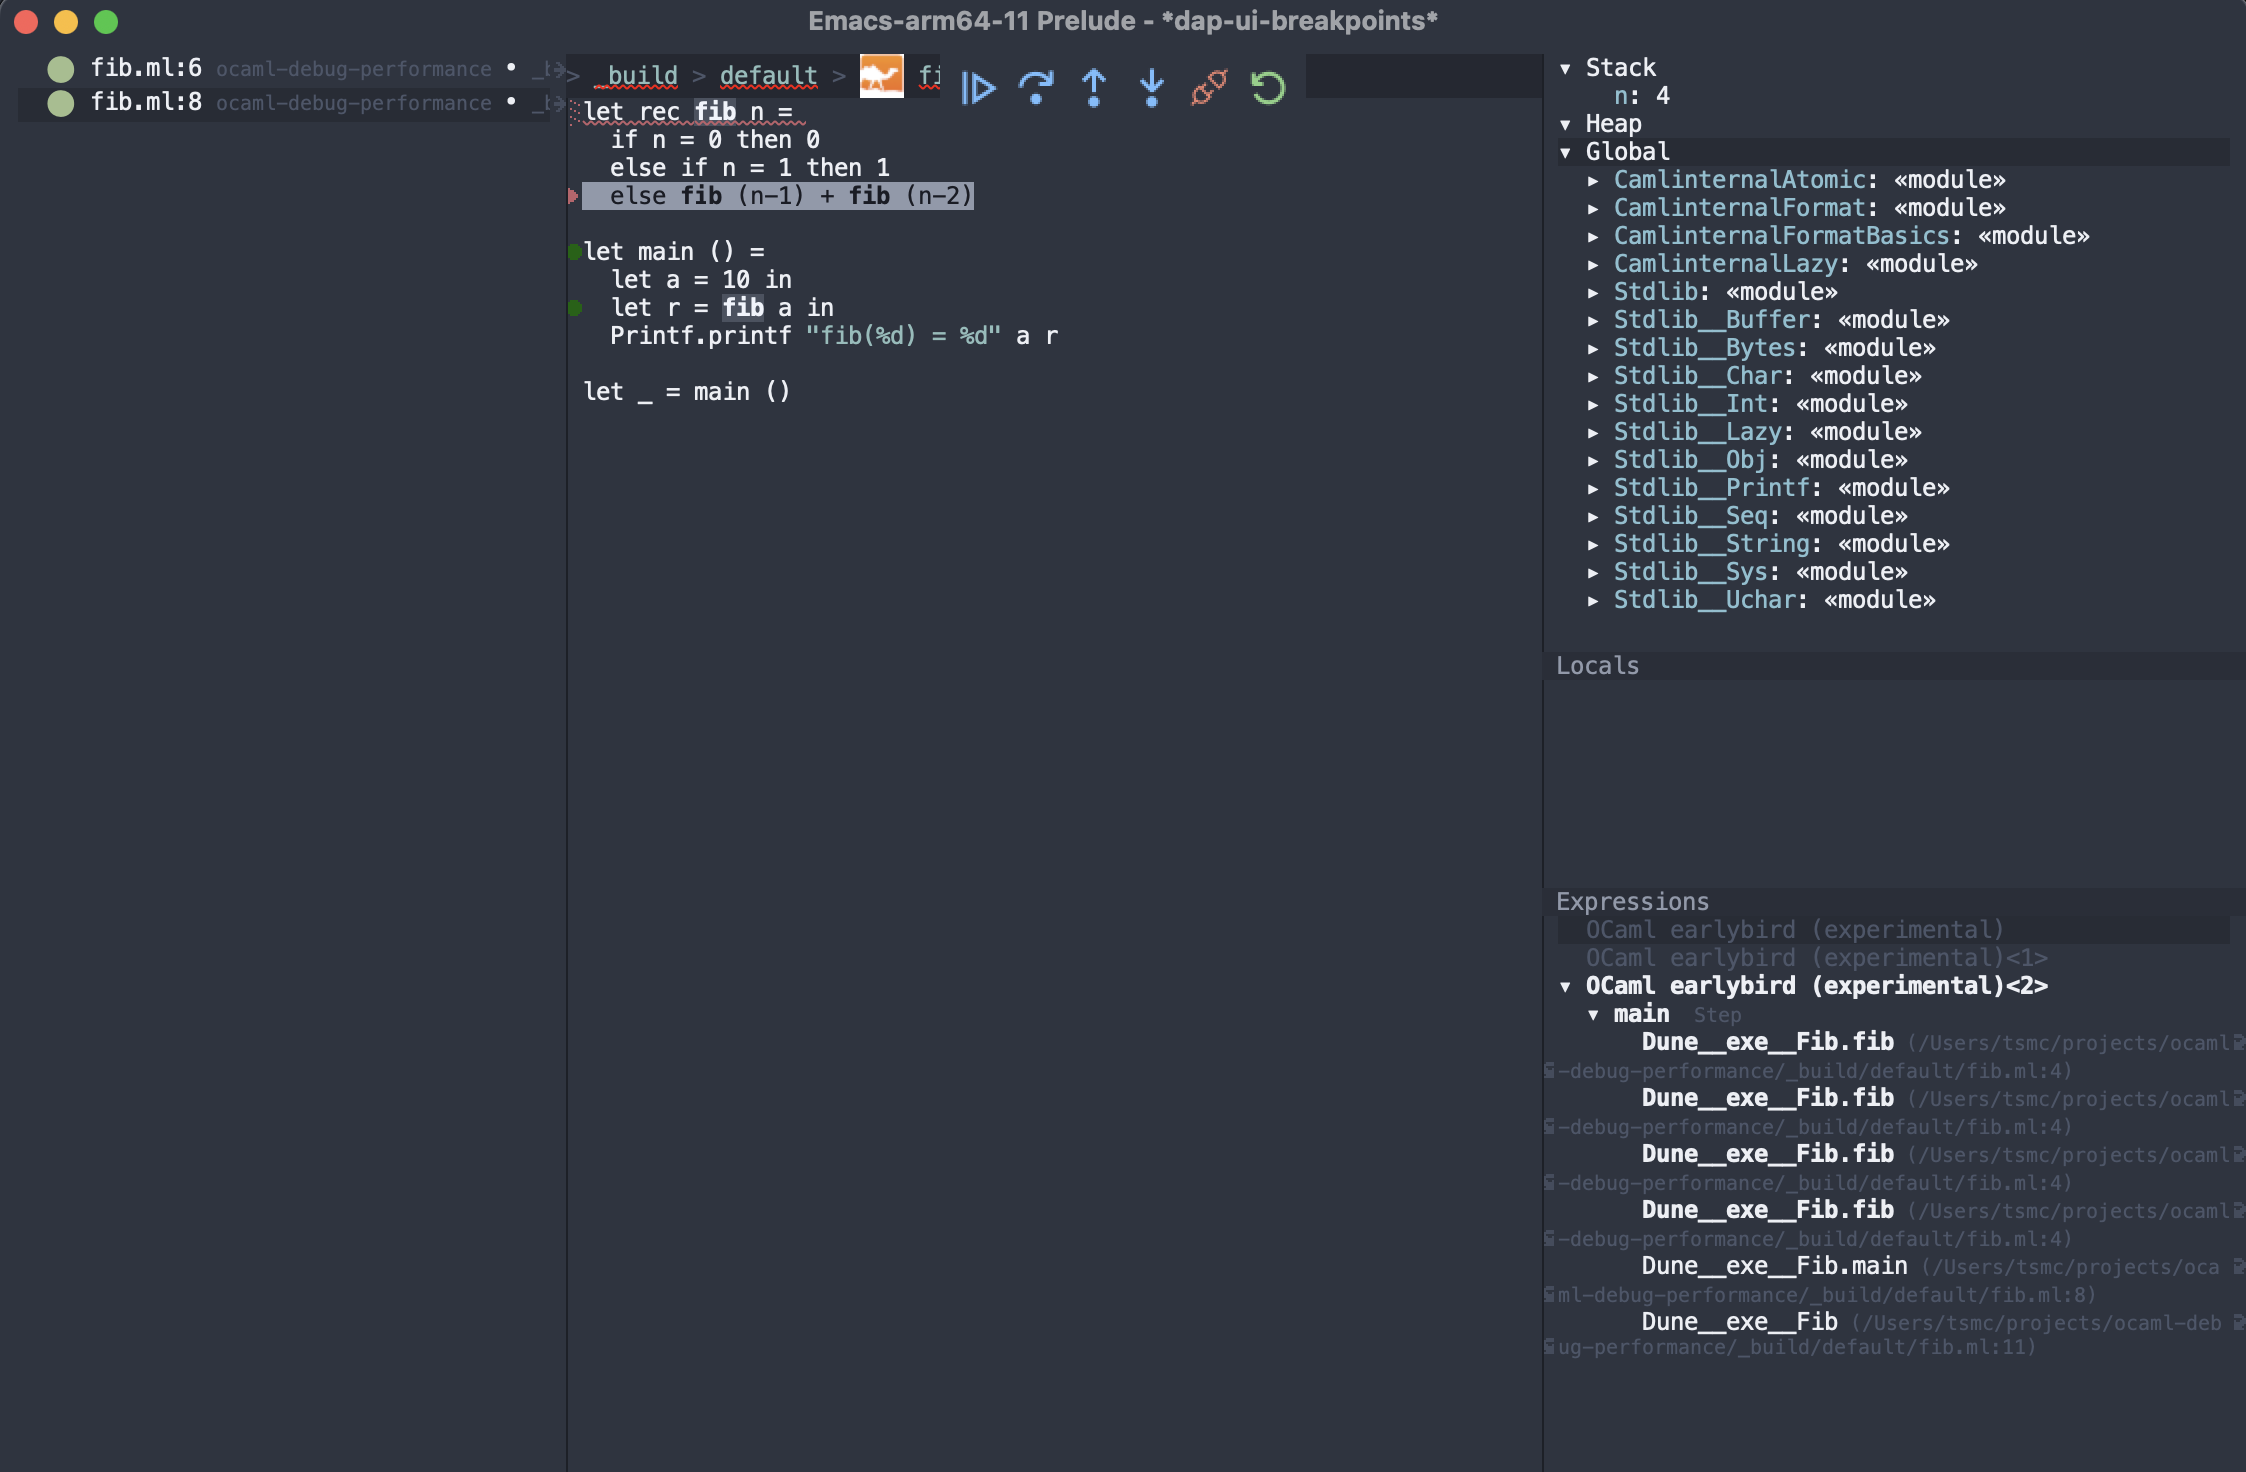
To set breakpoints you need to open the OCaml source file in _build/default/fib.ml and click on the source lines you want to stop at. Here is what it looks like after a few recursions. Use the buttons to control the debugger or use the keybindings we added to step through the execution. Curiously they are not pre-defined but here I’ve tried to reuse mappings from ocamldebug.
Native debugging
OCaml can also produce native binaries that can be debugged using native debuggers like GDB or LLDB, depending on your platform. Here we will use LLDB on macOS, but Linux LLDB works too – just change the name of the program you want to debug.
Add another section to .vscode/launch.json for starting lldb.
{
"type": "lldb",
"request": "launch",
"name": "LLDB with ocamlopt",
"program": "./fib.exe",
"args": [],
"stopOnEntry": true,
"cwd": "${workspaceFolder}"
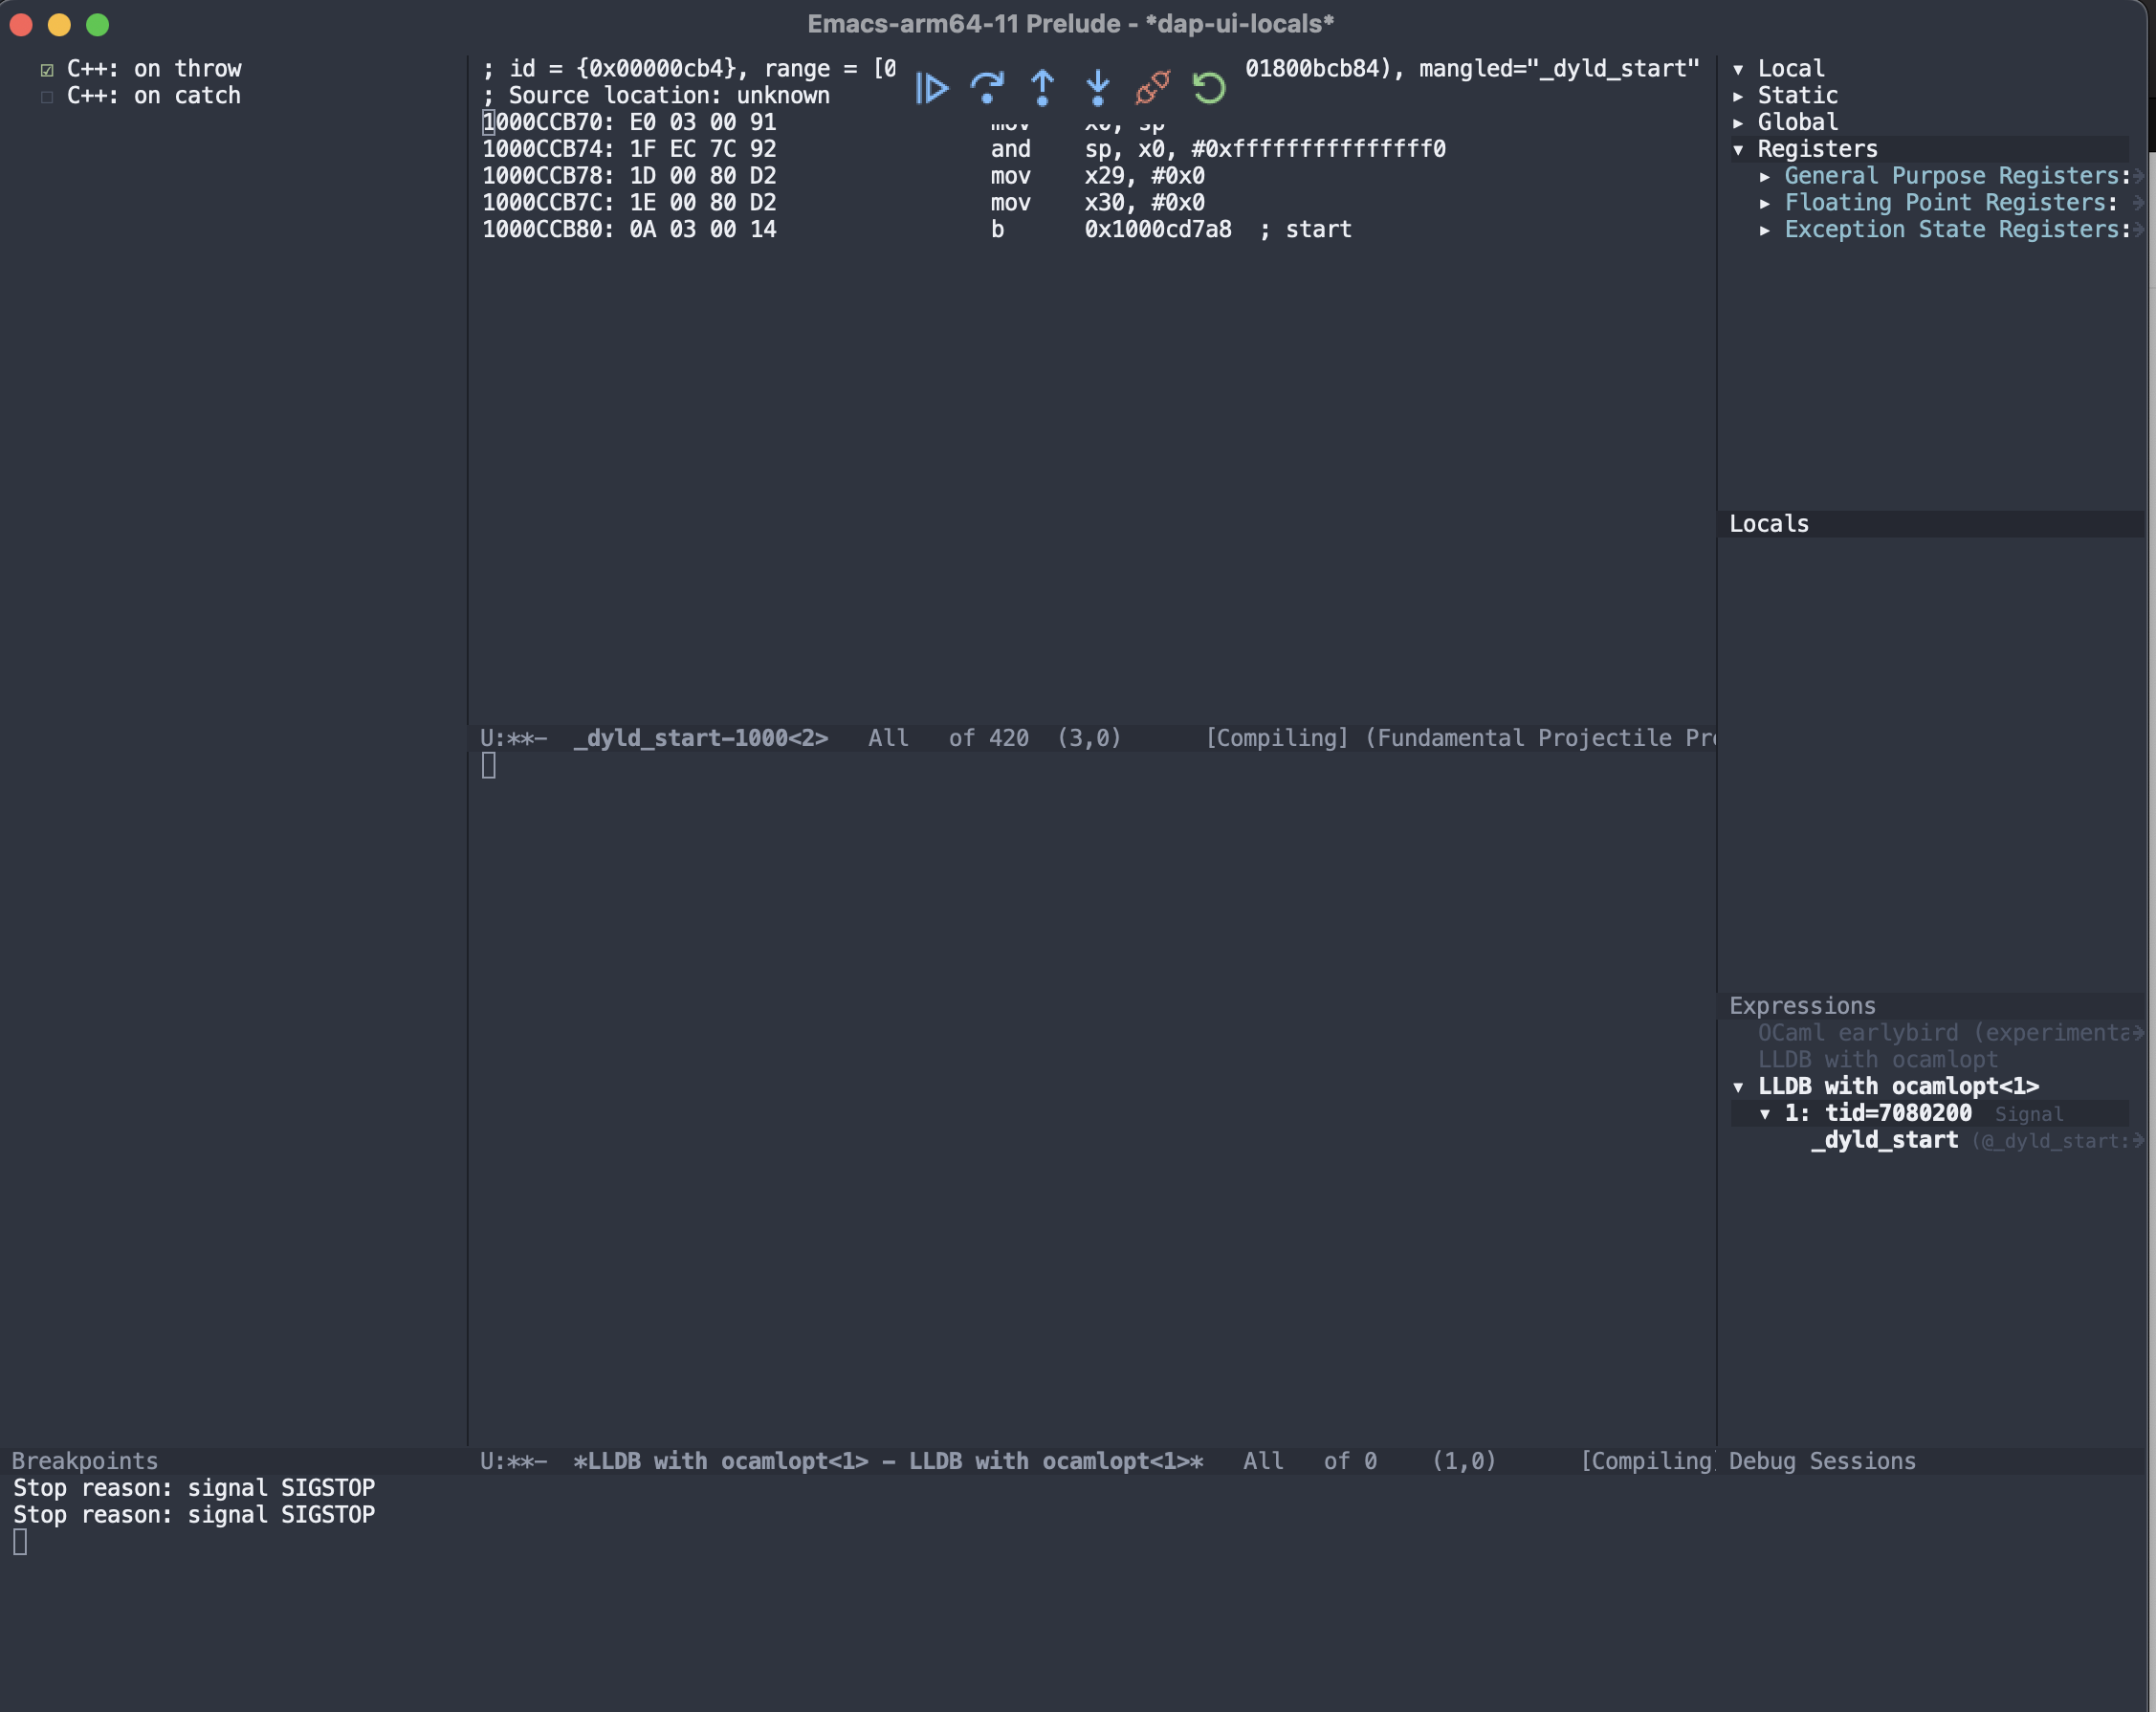
},Run M-x dap-codelldb-setup which will download the codelldb DAP program that we are using to communicate with LLDB. This gets installed into .extension/vscode/codelldb. Now compile the fib program with ocamlopt -g -o fib.exe fib.ml and startup a debugger session with M-x dap-debug choose the LLDB with ocamlopt option. You should see something similar to:
Now DAP as setup with LLDB and macOS, is a little broken and is missing support for setting breakpoints on symbols and line numbers in source code. Fixes for both will be comming soon. Linux LLDB works better in this scenario. Setting breakpoints using line numbers in source code requires fixes to the OCaml compiler, while setting breakpoints on symbols is supported in codelldb but not exposed into dap-mode.
The second option is debugging native binaries built with Dune, this is slightly different for two reasons. First Dune places the executable into _build/default/fib.exe and second Dune produces slightly different symbols. Start by adding a new section in .vscode/launch.json for Dune built executables:
        {
            "type": "lldb",
            "request": "launch",
            "name": "LLDB with Dune",
            "program": "./_build/default/fib.exe",
            "args": [],
            "stopOnEntry": true,
            "cwd": "${workspaceFolder}"
        },
Remove the old fib.exe in the project directory (dune will complain if you don’t) and run dune build. Startup a new DAP session with M-x dap-debug and choose LLDB with Dune. You should see the same debugger session as before.
Conclusion
Debugging OCaml with DAP inside Emacs is possible. There are working options for both bytecode programs and native programs which work reasonably well.
Use dap-mode with:
(require 'dap-mode)
(require 'dap-codelldb)
(require 'dap-ocaml)

(use-package dap-mode
  :bind (("C-c M-n" . dap-next)
         ("C-c M-s" . dap-step-in)
         ("C-c M-a" . dap-step-out)
         ("C-c M-w" . dap-continue)))
and a launch.json of
{
    "version": "0.2.0",
    "configurations": [
        {
            "name": "OCaml earlybird (experimental)",
            "type": "ocaml.earlybird",
            "request": "launch",
            "program": "./_build/default/fib.bc",
            "stopOnEntry": true,
            "cwd": "${workspaceFolder}"
        },
        {
            "type": "lldb",
            "request": "launch",
            "name": "LLDB with Dune",
            "program": "./_build/default/fib.exe",
            "args": [],
            "stopOnEntry": true,
            "cwd": "${workspaceFolder}"
        },
        {
            "type": "lldb",
            "request": "launch",
            "name": "LLDB with ocamlopt",
            "program": "./fib.exe",
            "args": [],
            "stopOnEntry": true,
            "cwd": "${workspaceFolder}"
        }
    ]
}
The same setup will work under VSCode with the CodeLLDB and OCaml Platform extensions installed. Happy Emacs debugging.
Future Work
I’m working on improving the OCaml debugging experience on macOS and Linux. Currently the macOS LLDB experience is behind that on Linux LLDB, so that is the first goal. Then I want to improve the DWARF encodings for OCaml and generally improve the native debugger experience.
]]>